The following knowledgebase article is a quick setup guide for the TP-Link Archer AX20 / AX23 (AX1800) when connecting to Aquiss FTTP broadband services.
The TP-Link router is designed to fully meet the need of Small Office/Home Office (SOHO) networks and users demanding higher networking performance. The powerful antennas ensure continuous Wi-Fi signal to all your devices while boosting widespread coverage throughout your home, and the built-in Ethernet ports supply high-speed connection to your wired devices.
Moreover, it is simple and convenient to set up and use the TP-Link router due to its intuitive web interface and the powerful Tether app.
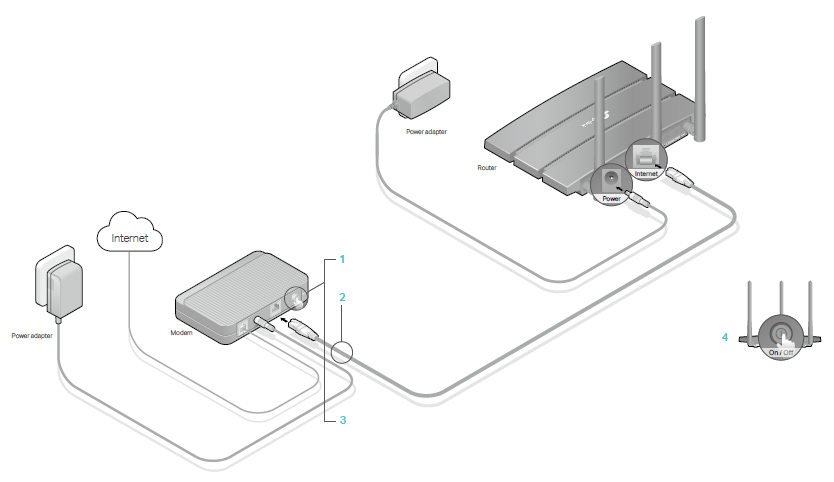
Part 1 : Introducing your router Part 2 : Connecting the router to your FTTP ONT (Optical Network Terminal)
1. Connect an Ethernet cable between your laptop/computer to the
yellow LAN port 1 on the back of the TP-Link
2. Connect an Ethernet cable between the
blue WAN port on the back of TP-Link and the Data Port on the fitted ONT within your property.
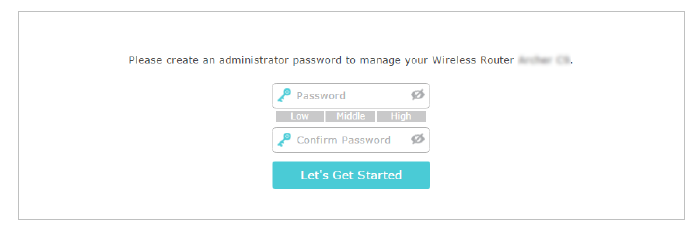
Part 3 : Login to your router1. From your web browser of choice, visit
http://192.168.0.1 and when prompted enter the default username as
admin and password as
admin. If you have previously changed these, enter your login details now.
2. Once logged in, go to
Internet.
3. From the internet connection type drop-down list, select the option
PPPoE.
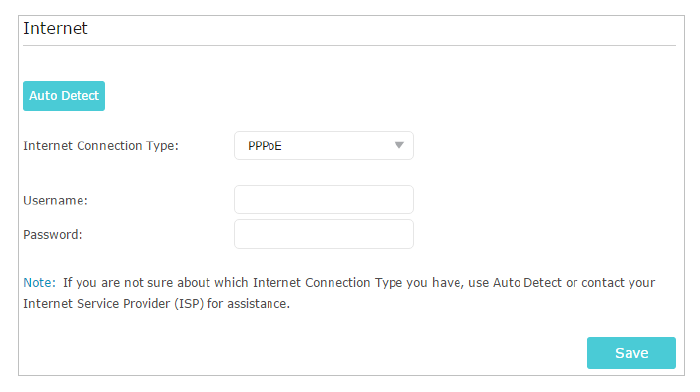
4. Enter the username and password as supplied by Aquiss to connect to your broadband service.
5. Click
Save.
Part 4 : Further InformationIf you require further details about this router, please find attached below the full user manual.